How to setup the React JS Project

React Environment Setup:
To run any React application, we need first to set up a ReactJS Development Environment. This article will show you a step-by-step guide to installing and configuring a working React development environment.
We must have NodeJS installed on our PC. So, the very first step will be to install NodeJS.
Installing Node On Windows (WINDOWS 10):
You have to follow the following steps to install the Node.js on your Windows :
Step 1: Downloading the Node.js ‘.msi’ installer the first step to install Node.js on Windows is to download the installer. Visit the official Node.js website i.e) https://nodejs.org/en/download/
step 2: Verify whether Node.js was properly installed or not.
To check that node.js was completely installed on your system or not, you can run the following command in your command prompt or Windows Powershell and test it:-
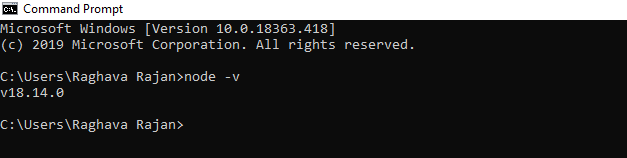
If node.js was completely installed on your system, the command prompt will print the version of the Node JS installed.
Using create-react-app (CRA command):
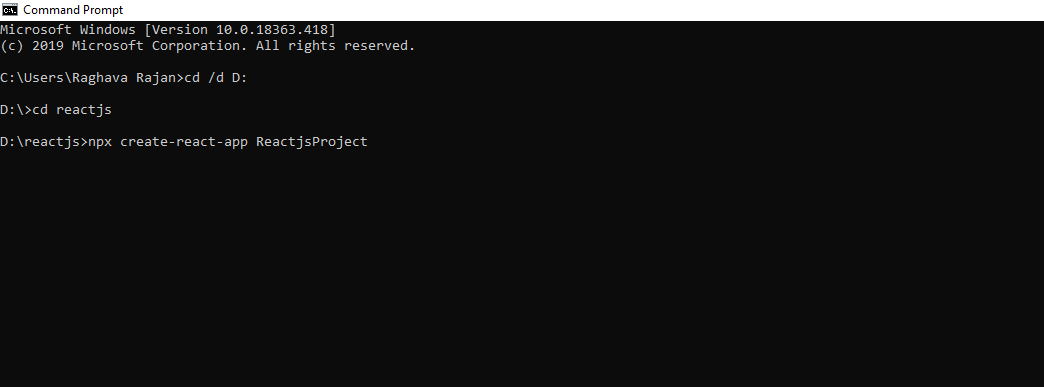
Step 1: Navigate to the folder where you want to create the project and open it in terminal
Step 2: In the terminal of the application directory type the following command
code: npx create-react-app "projectname"
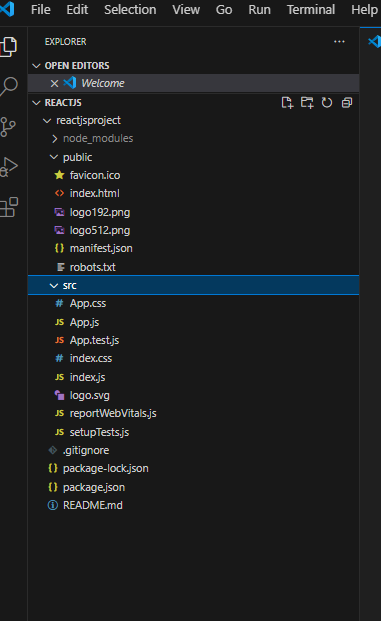
Step 3: A default application will be created with the following project structure and dependencies
Step 4: Navigate to the newly created folder using the command
code: npm start
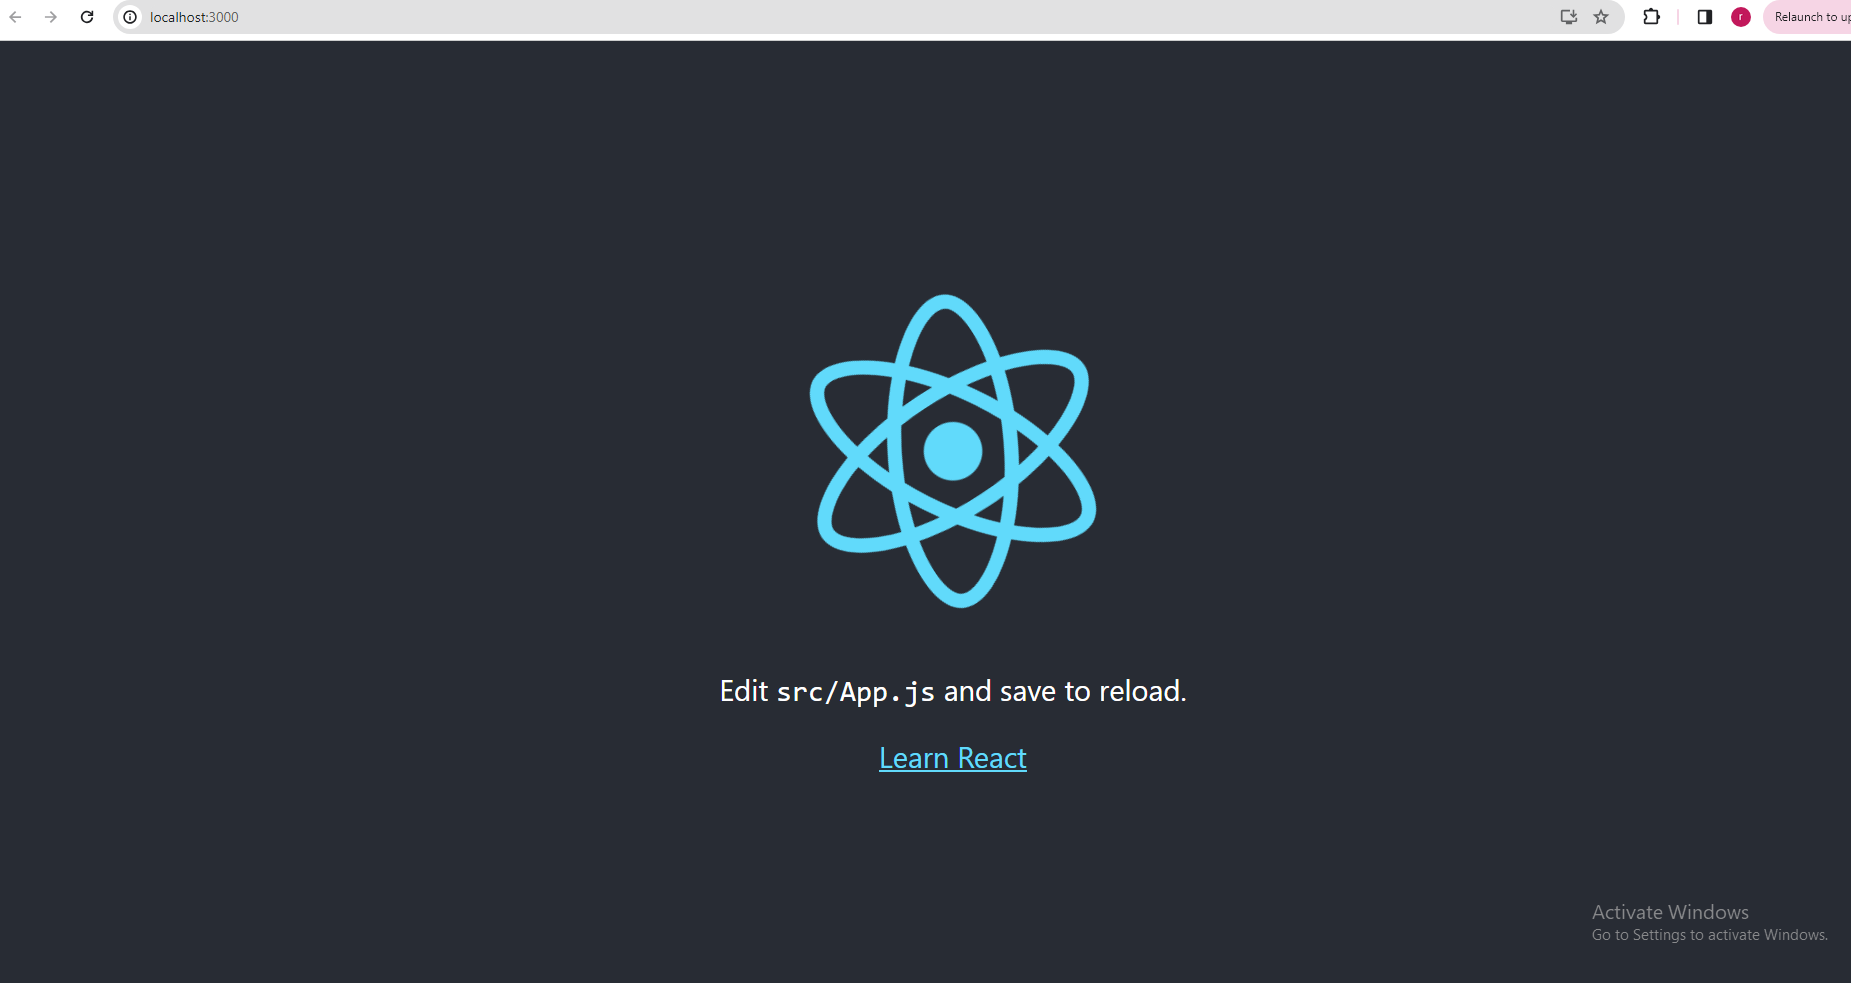
Step 5: The following output will be displayed in the browser