

How to Print Envelopes Using Word From Data in Excel

Step 1: Create Your Data List
- Open Microsoft Excel.
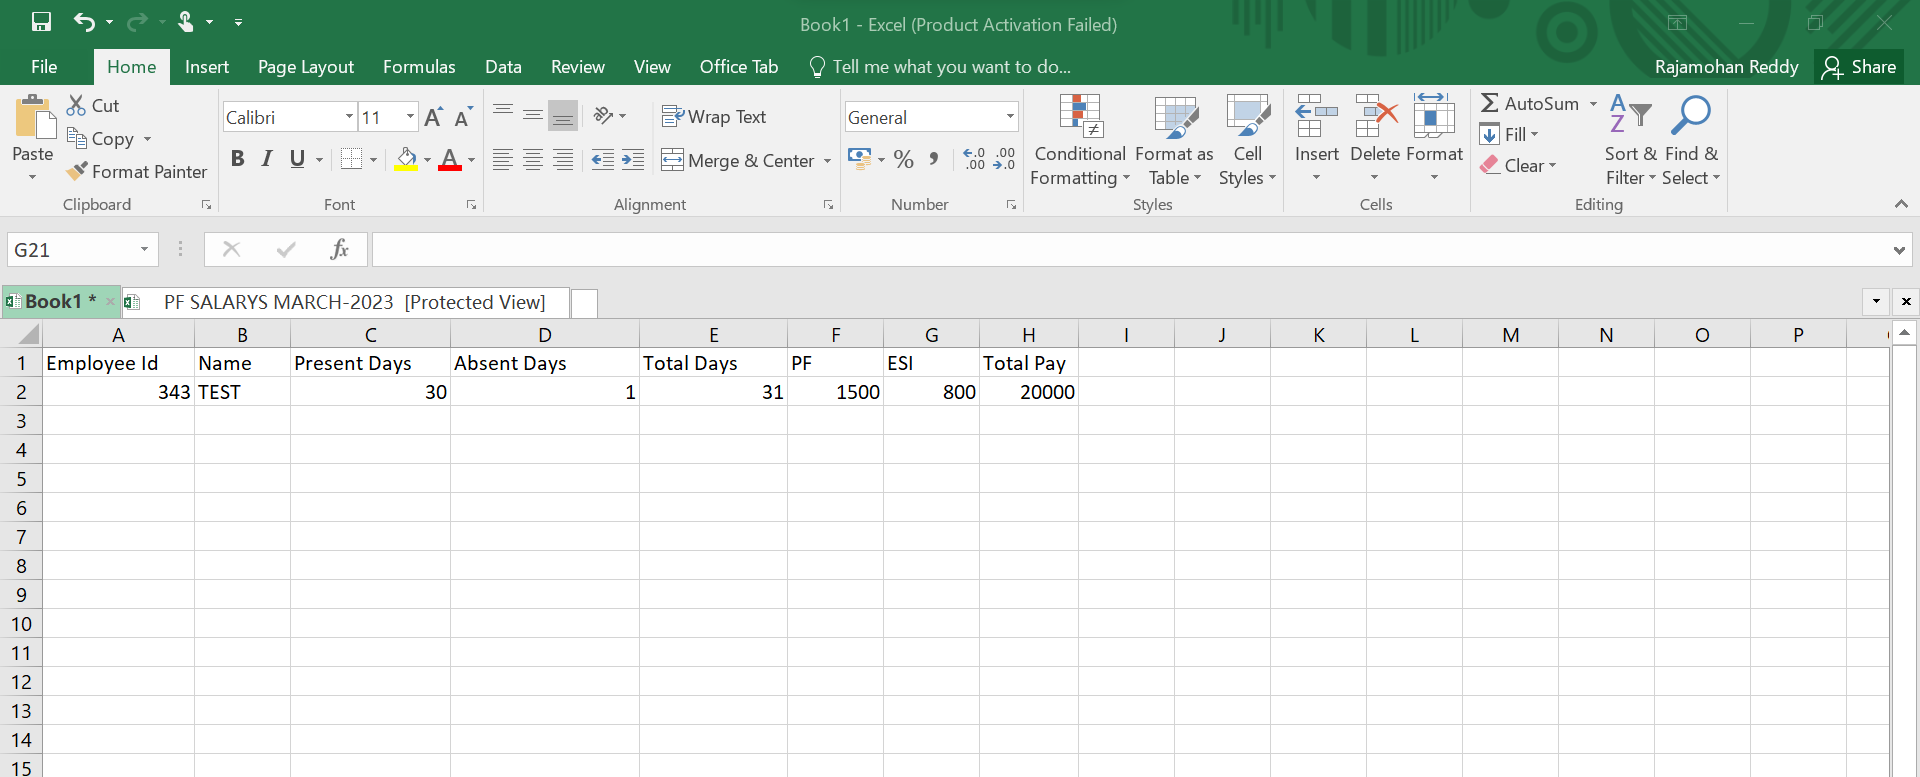
- Create a new spreadsheet with the following columns: Employee Id, Name, Present Days, Absent Days, PF , ESI, Total Pay. Adding this information in the corresponding columns. This document will become your master mailing list.
Step 2: Design Your Envelope:
Next, you need to prepare your envelope template in Microsoft Word. This is the document you will set up to populate with your recipient’s addresses when printing automatically.
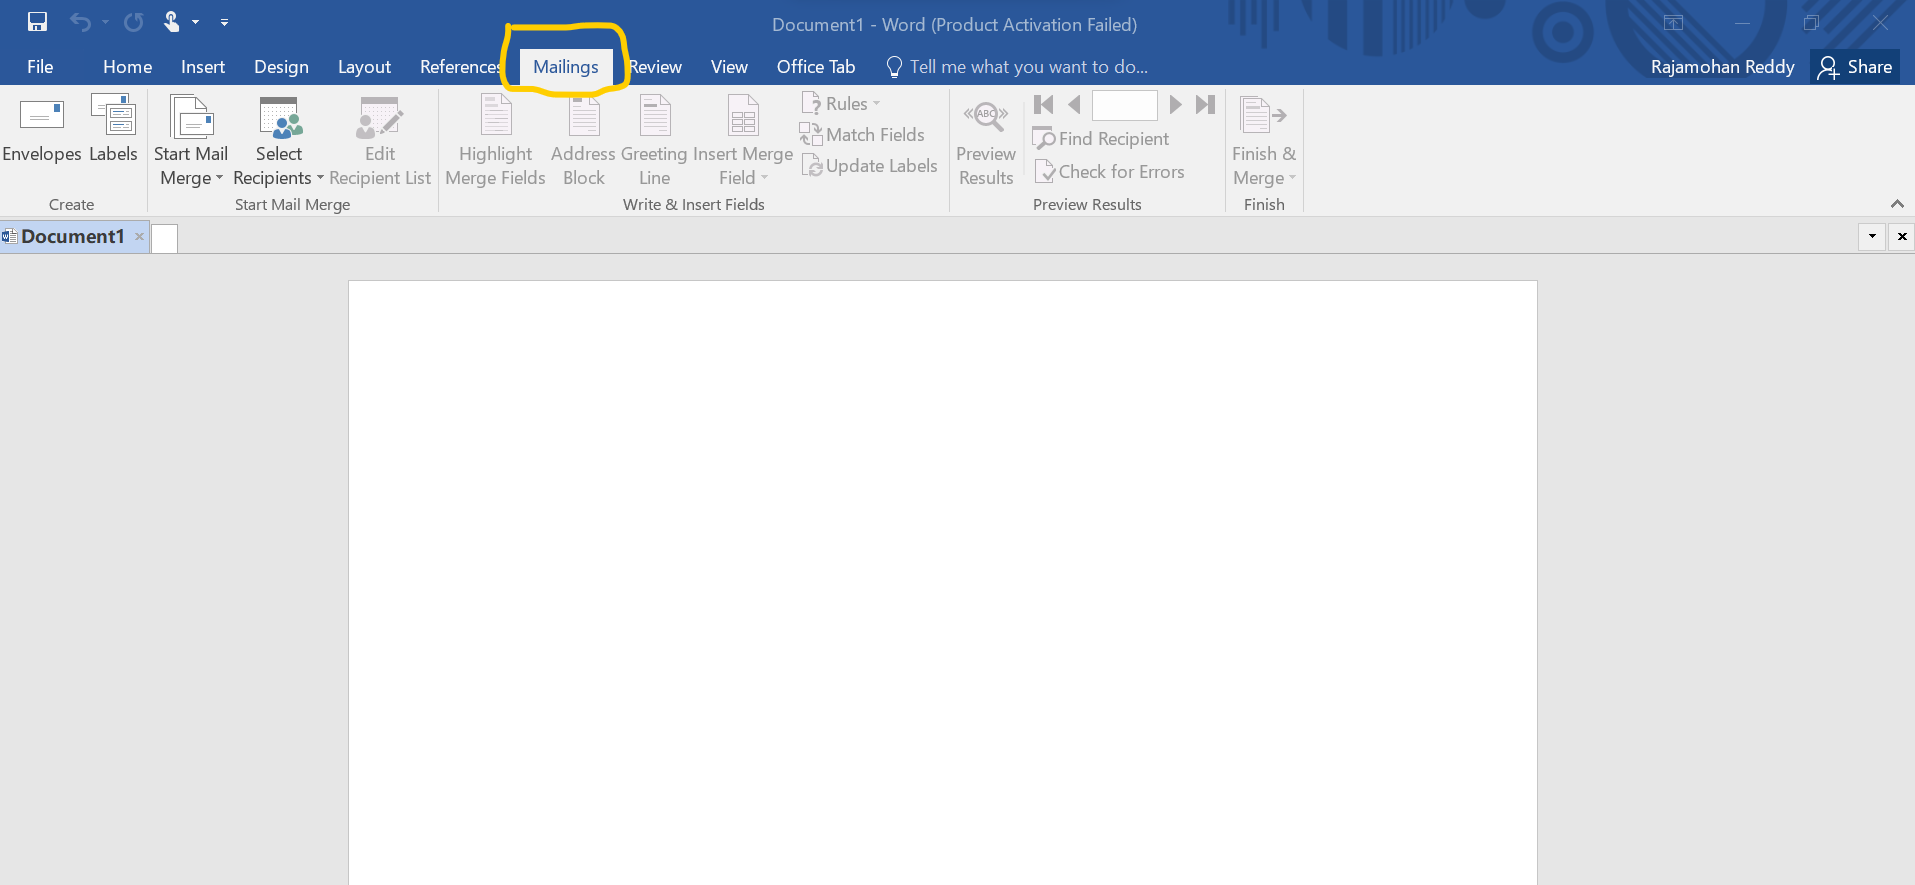
After that click on "Envelopes"
Now specify what paper size your envelopes are to be. To do so, select the Preview Icon
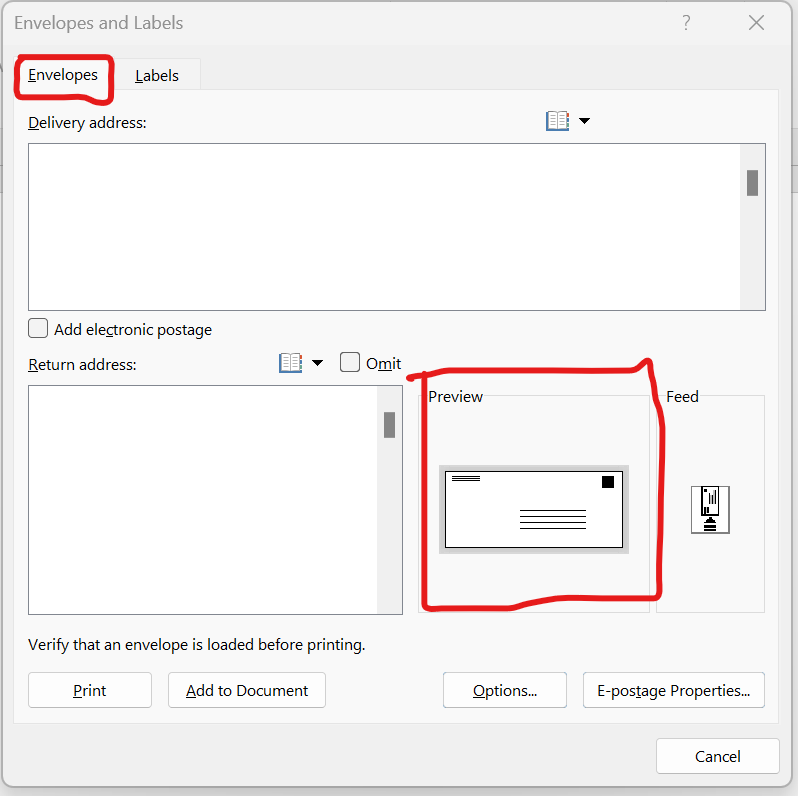
In the Envelope Options tab, select the drop-down menu under Envelope size.
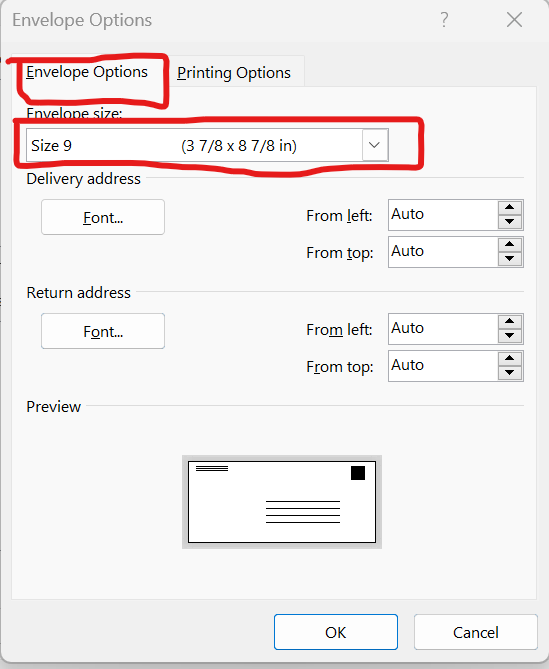
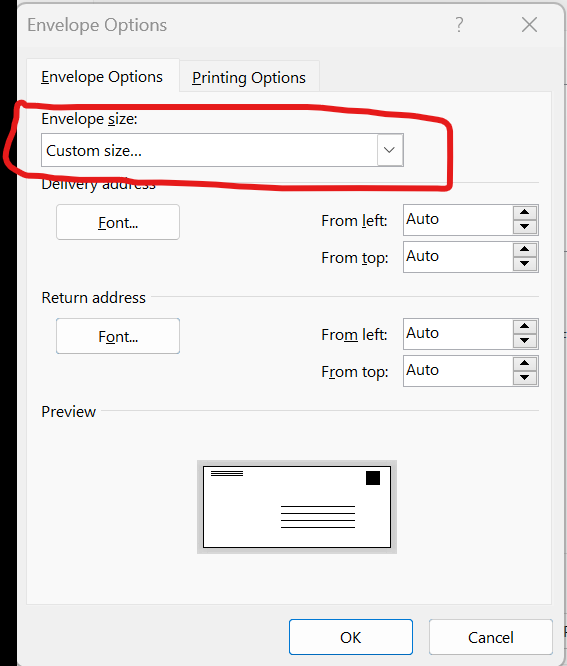
Choose the size your envelopes need to be. Word contains most common envelope sizes, but you can designate your own by clicking Custom Size.
After the Select the OK Button.
Step 3: Start the Mail Merge and Link Your EXCEL List
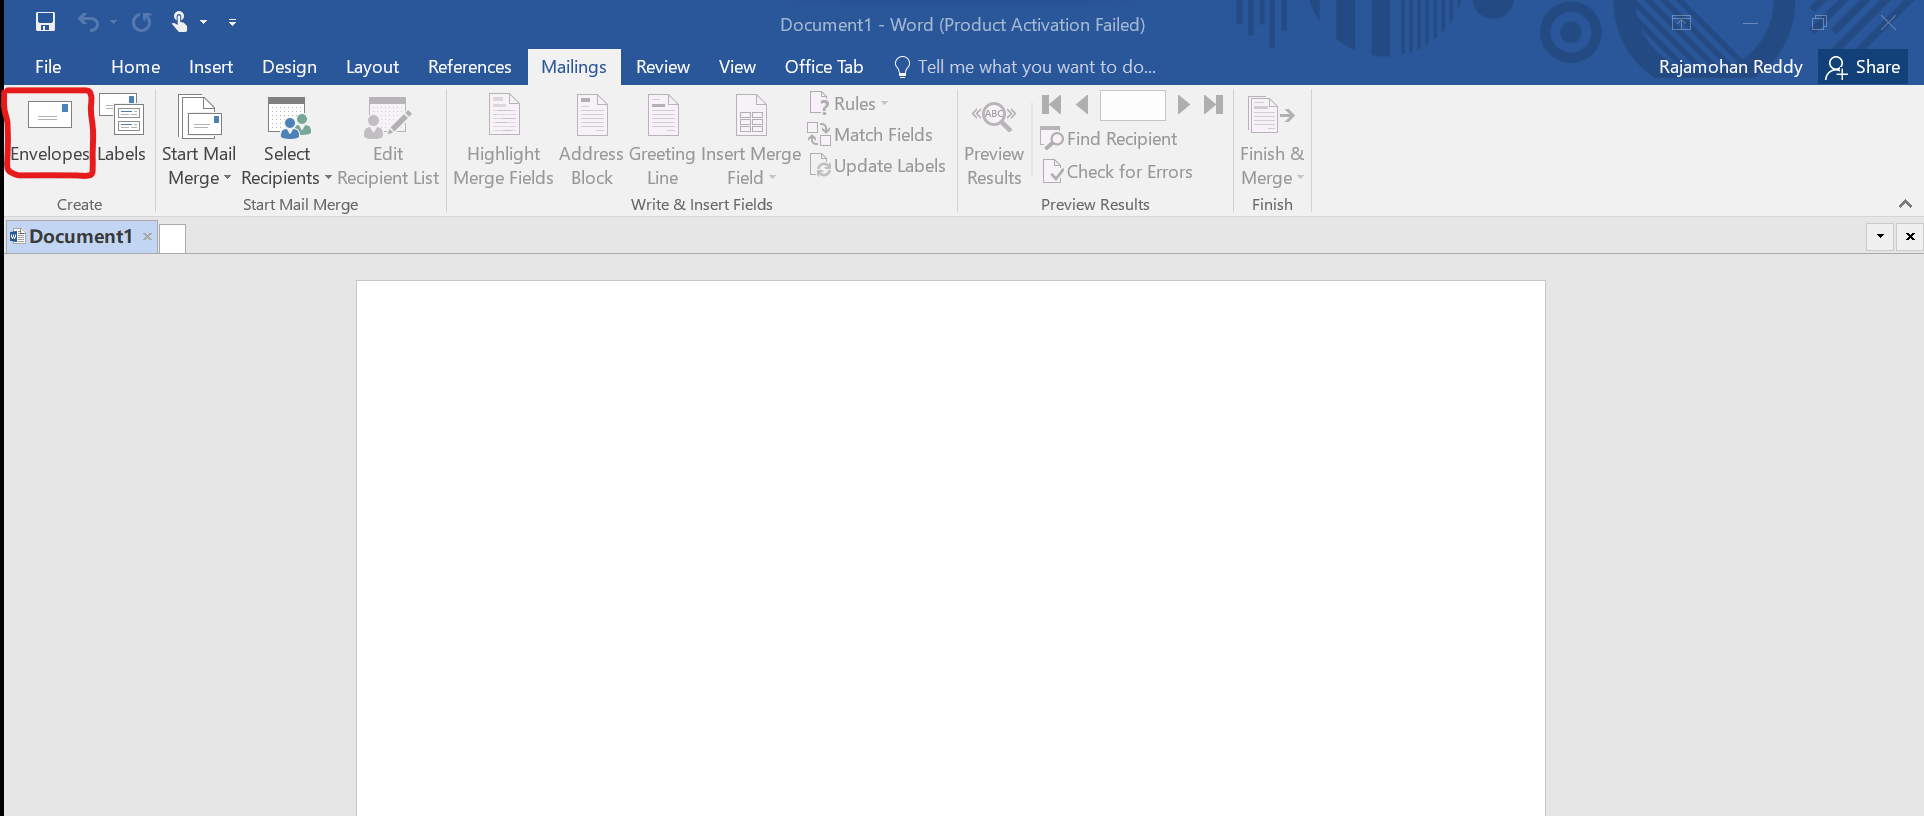
- In Word, click Mailings > Start Mail Merge > Envelopes.
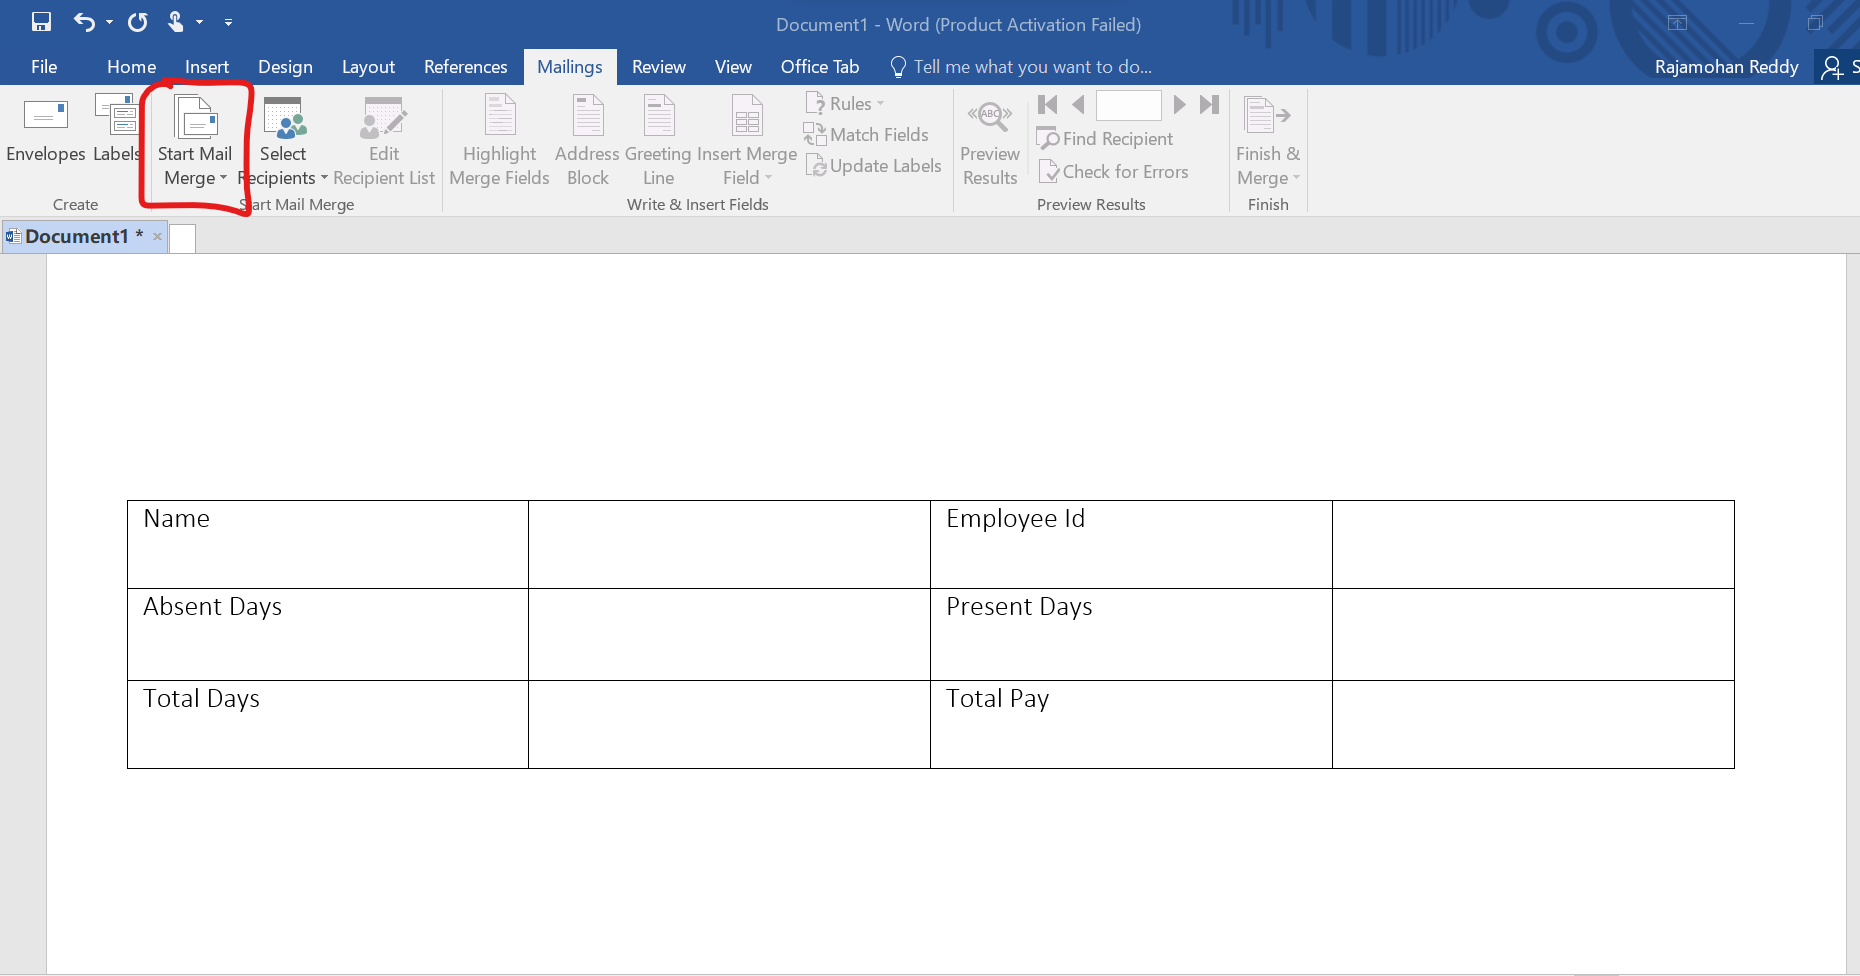
Select the Start Mail Merge and click on envelopes.

Click Mailings > Select Recipients > Use an Existing List. If you’re only printing to a single envelope, select Type a New List. Likewise, if your contacts are already saved in Microsoft EXCEL.
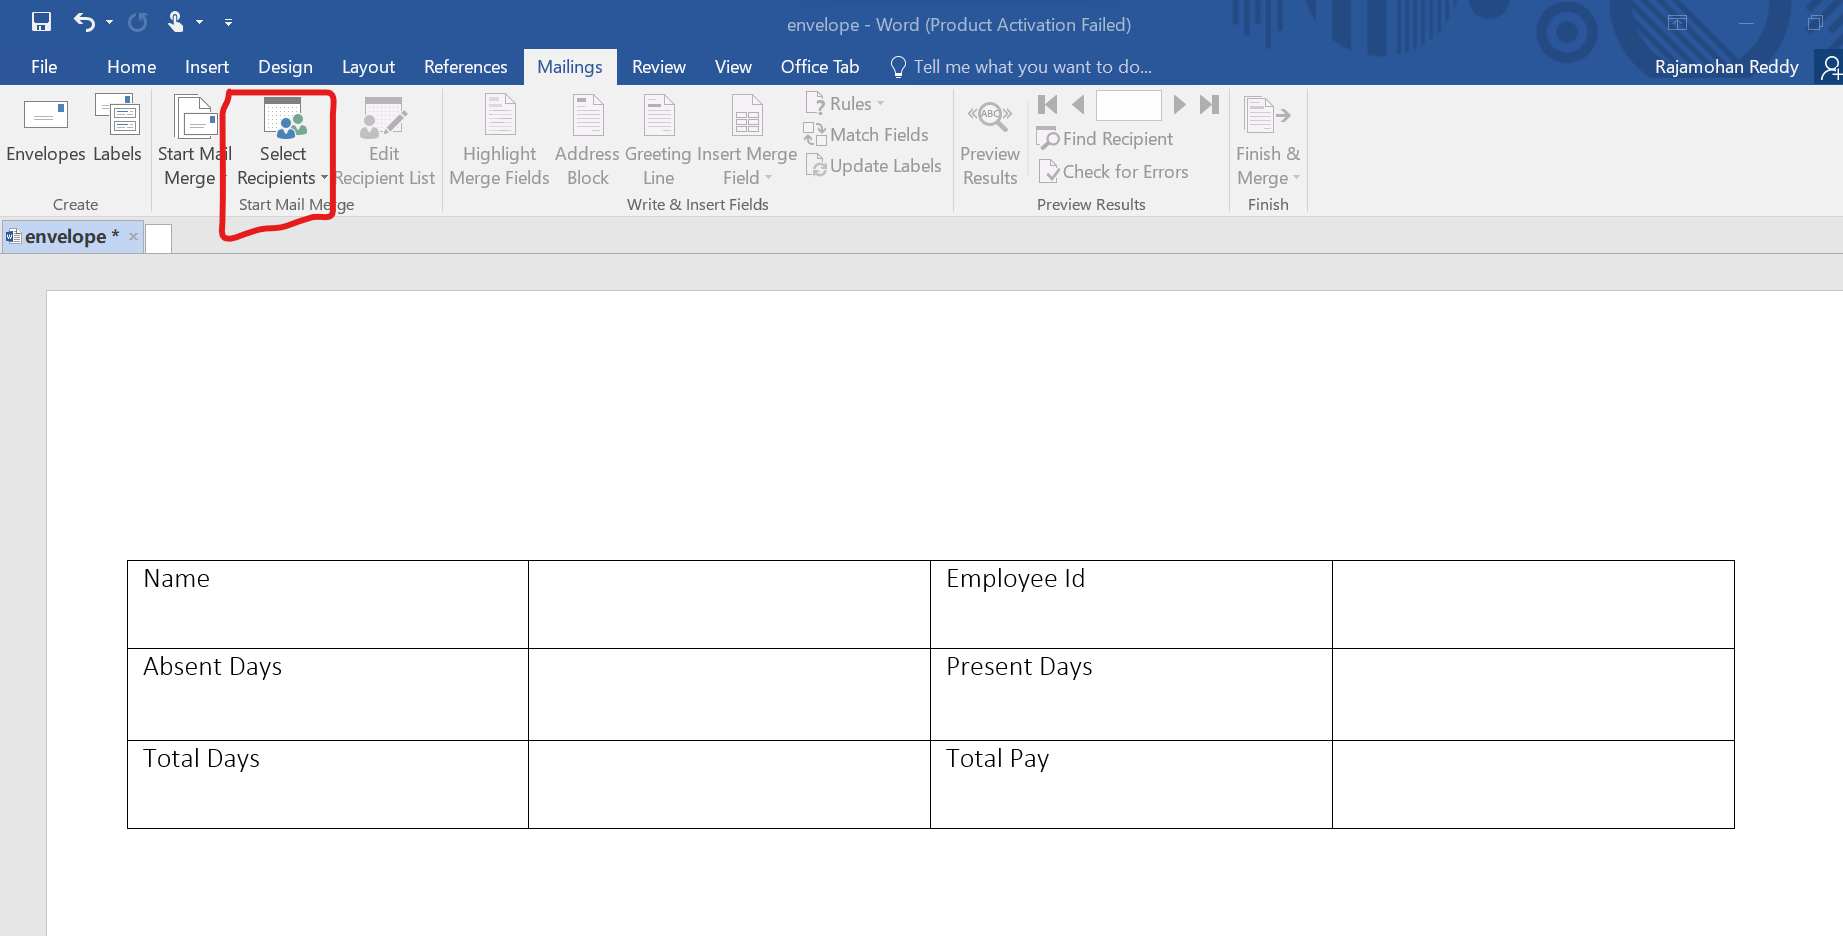
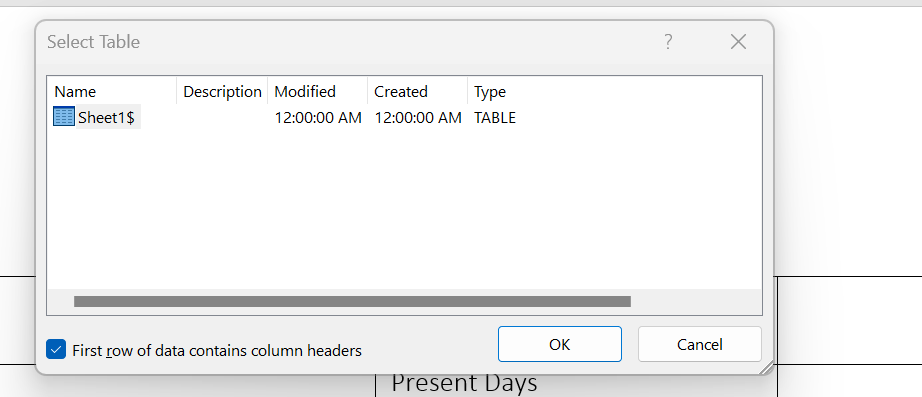
Select your Microsoft Excel spreadsheet and confirm the choice.
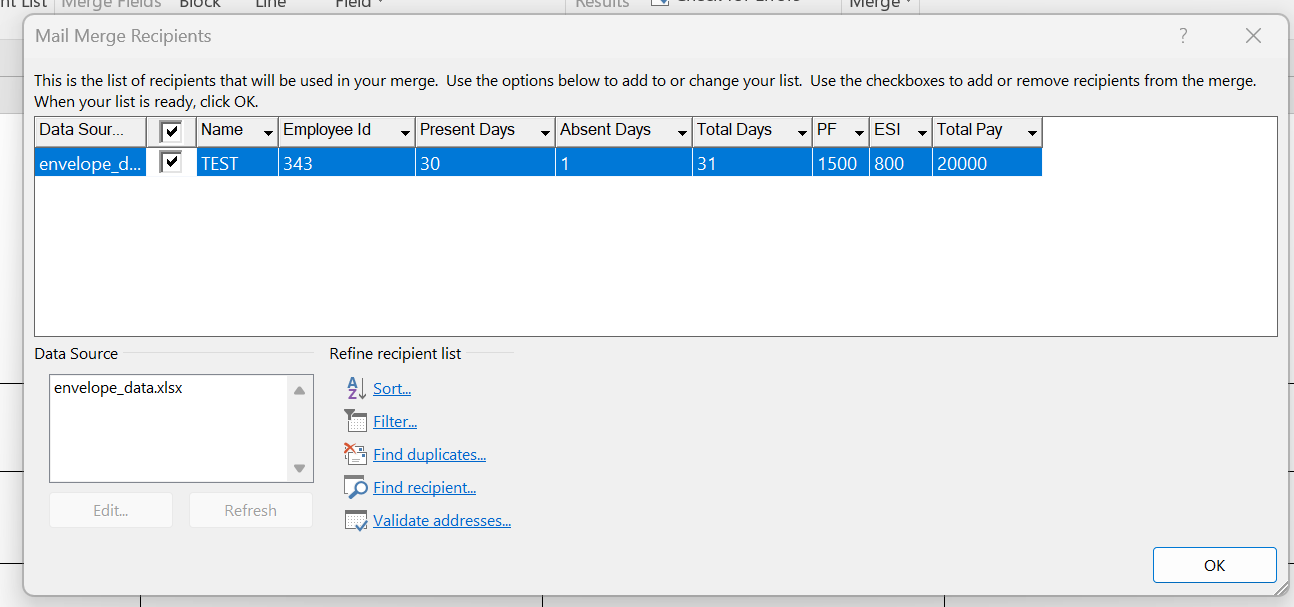
- If any addresses need to be edited, you can select Edit Recipient List to change them.
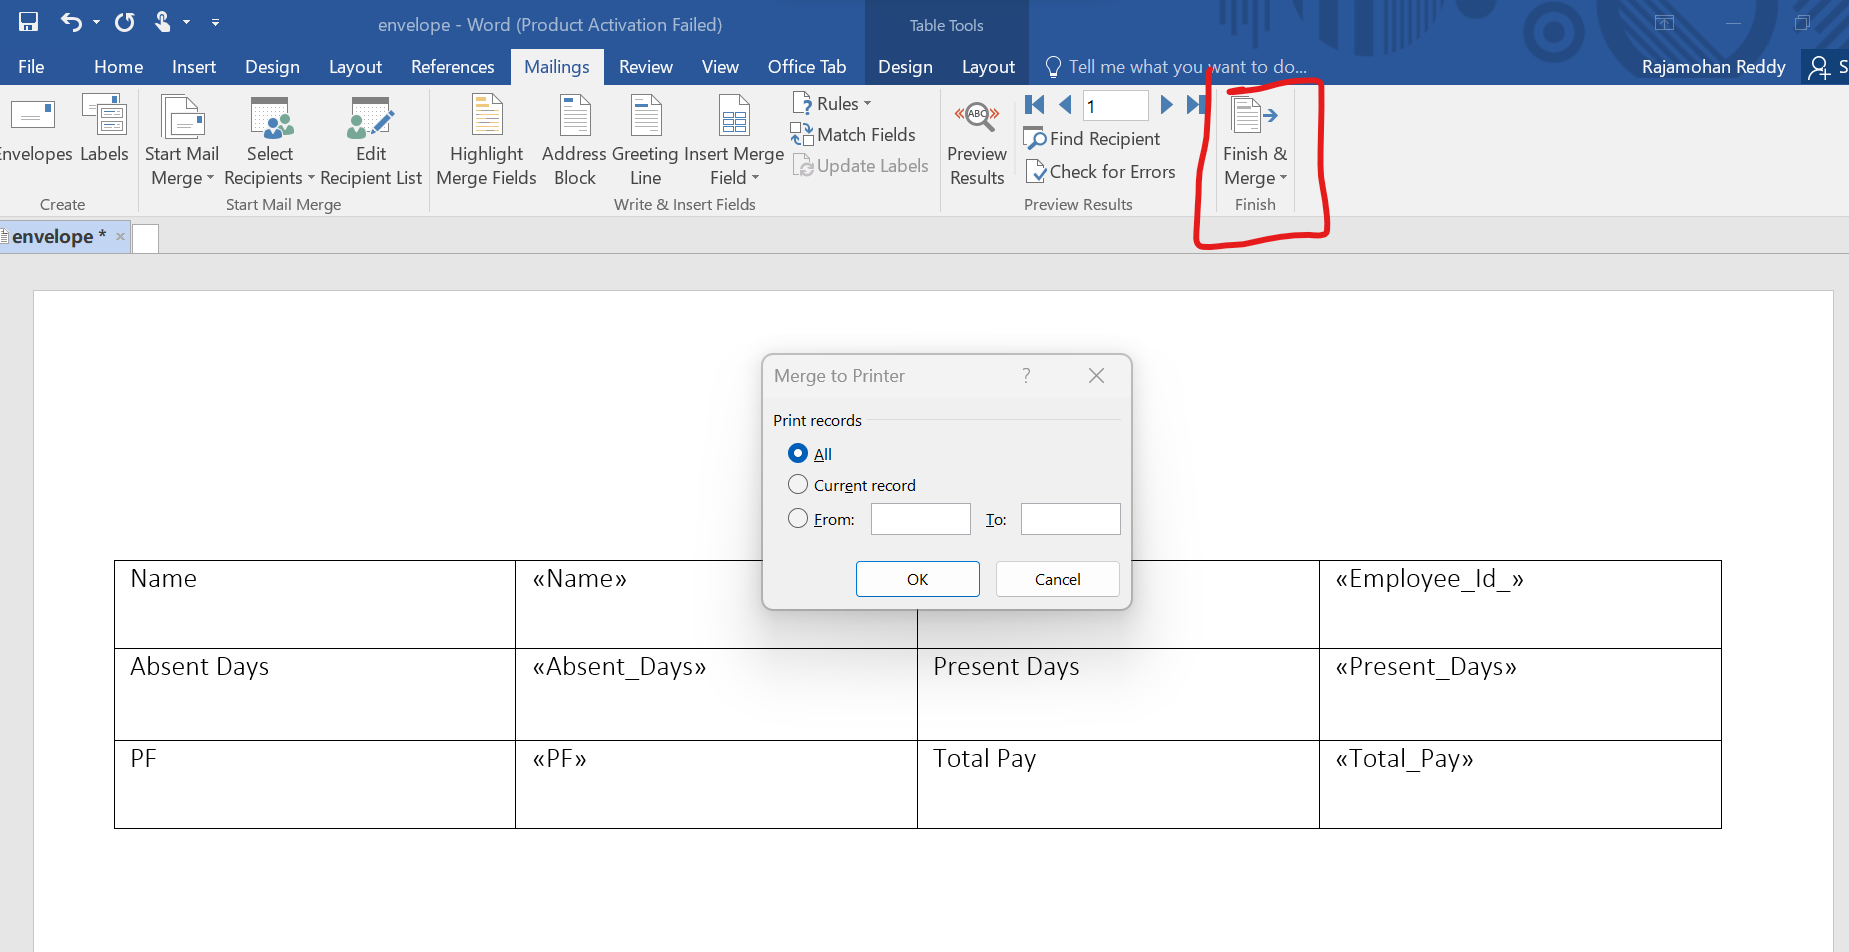
Select the Insert Merge Field:

Step 4: Print the Envelopes
- Select then Select Finish & Merge, then Print Documents
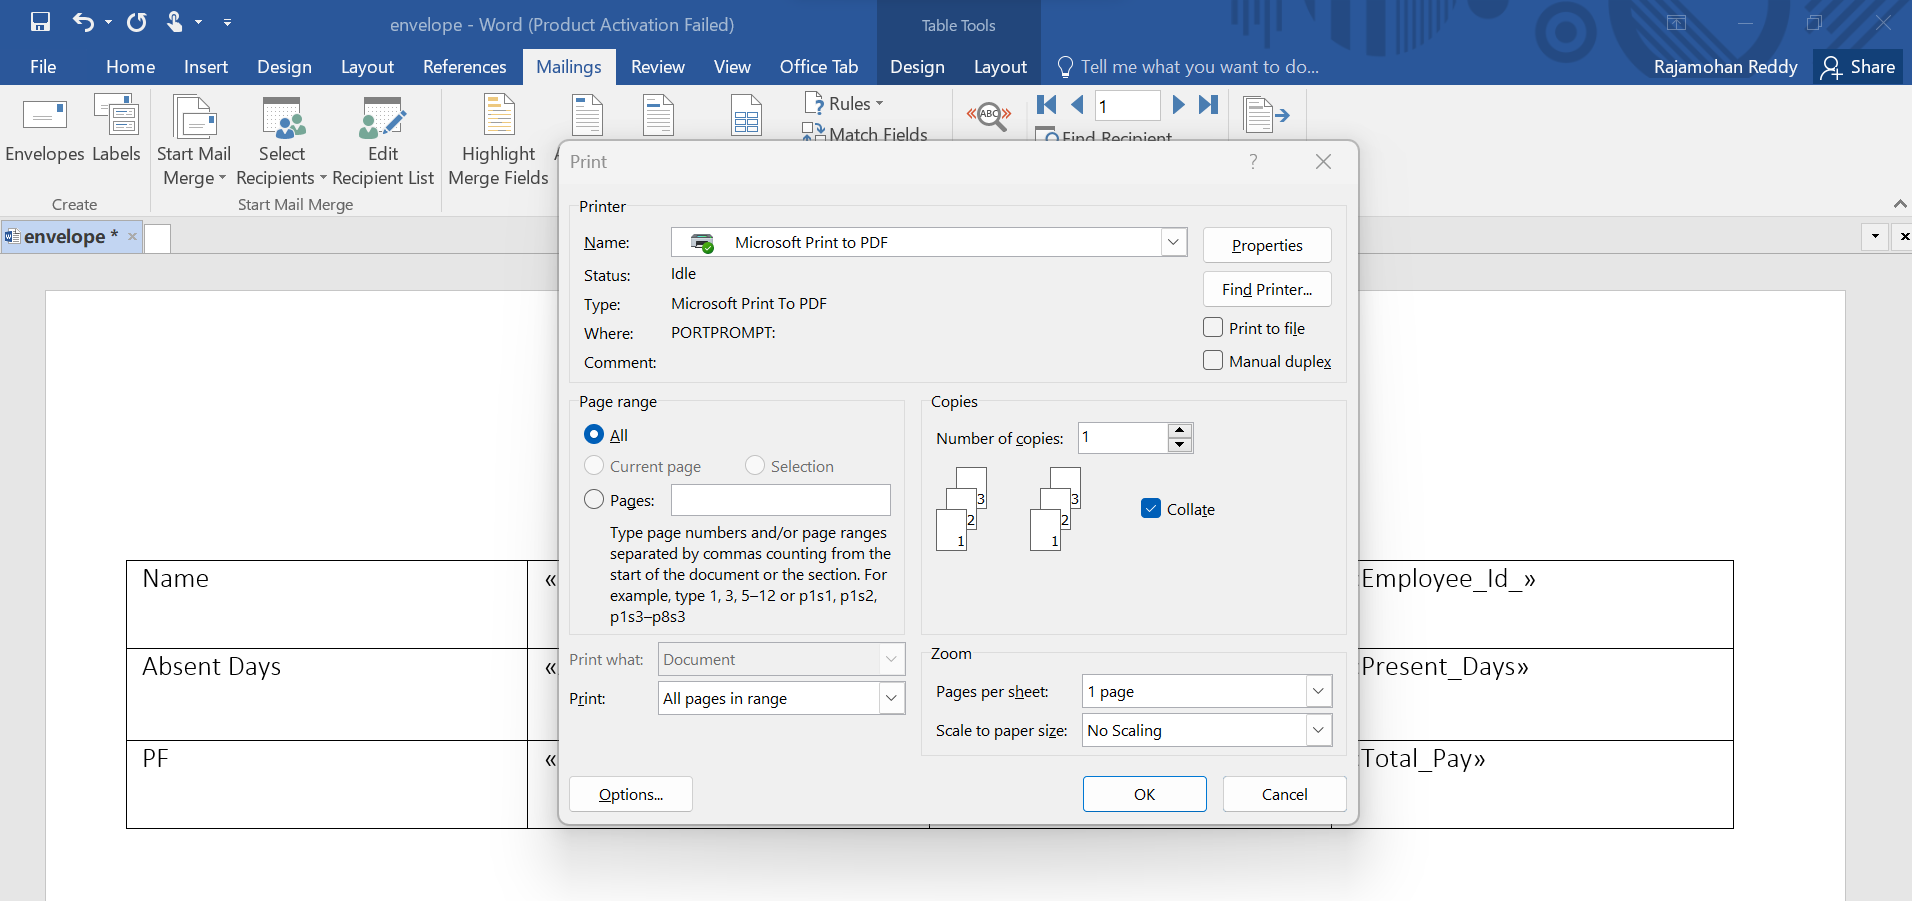
Finally, make sure “All” is checked and select OK.
This is how we can print the excel data in envelopes.