

Create WinUI 3 desktop application using Dotnet

Steps:
Download and install Visual Studio 2022 based on your OS. Select the appropriate edition as per your license. The community edition is free for students, open-source contributors, and individuals.
- Once installed, you can verify it by opening a command prompt (or terminal in Mac) and type dotnet --version and press Enter. This will display the installed version and usage information, as shown below

2. In Visual Studio, select File > New > Project
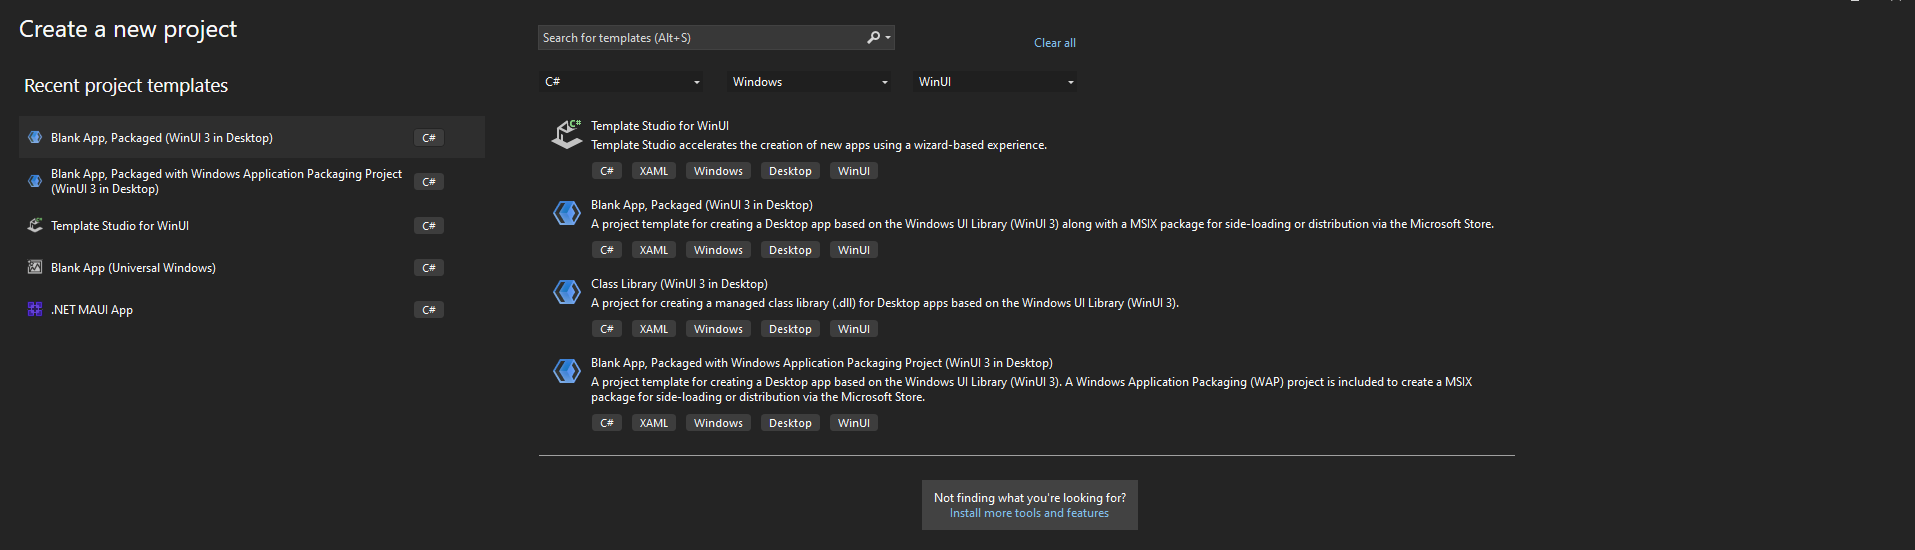
3. In the New Project dialog's drop-down filters, select C#/C++, Windows, and WinUI, respectively.
4. Enter a project name, choose any other options as desired, and click Create.
5. The project that Visual Studio generates contains your app's code. The App.xaml file and code-behind file(s) define an Application-derived class that represents your running app. The MainWindow.xaml file and code-behind file(s) define a MainWindow class that represents the main window displayed by your app. Those classes derive from types in the Microsoft.UI.Xaml namespace provided by WinUI 3.