.NET CORE Project Setup

Step1: Install Visual Studio
Download and install Visual Studio 2022 based on your OS. Select the appropriate edition as per your license. The community edition is free for students, open-source contributors, and individuals.
Once installed, you can verify it by opening a command prompt (or terminal in Mac) and type dotnet --version and press Enter. This will display the installed version and usage information, as shown below.

Here, we will learn how to create our first ASP.NET Core 7.0 application in Visual Studio 2022.
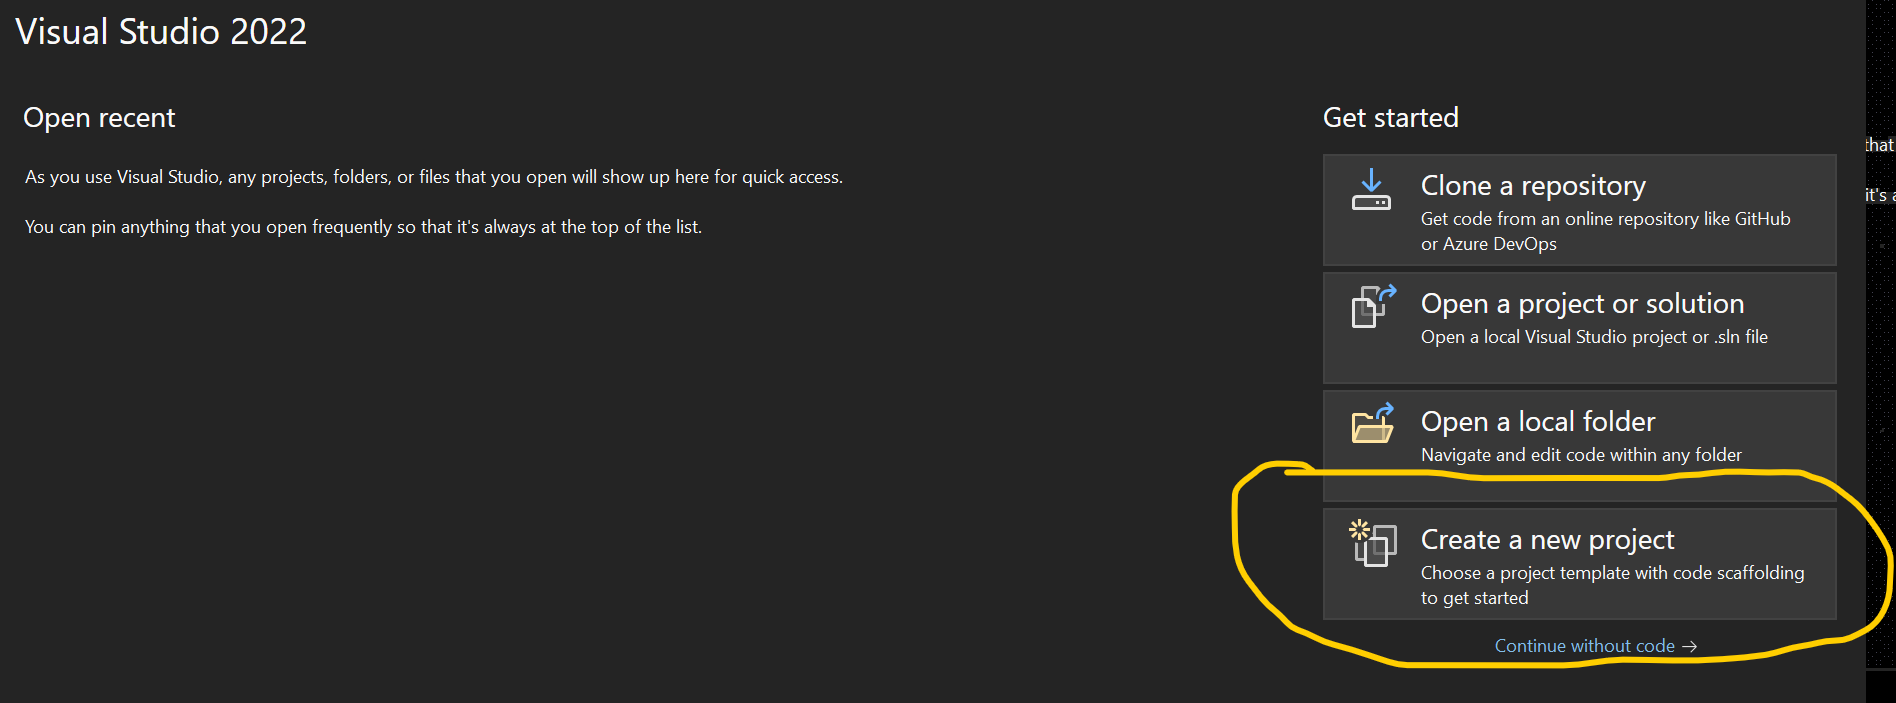
Open Visual Studio 2022 and click on Create a new project, as shown below.
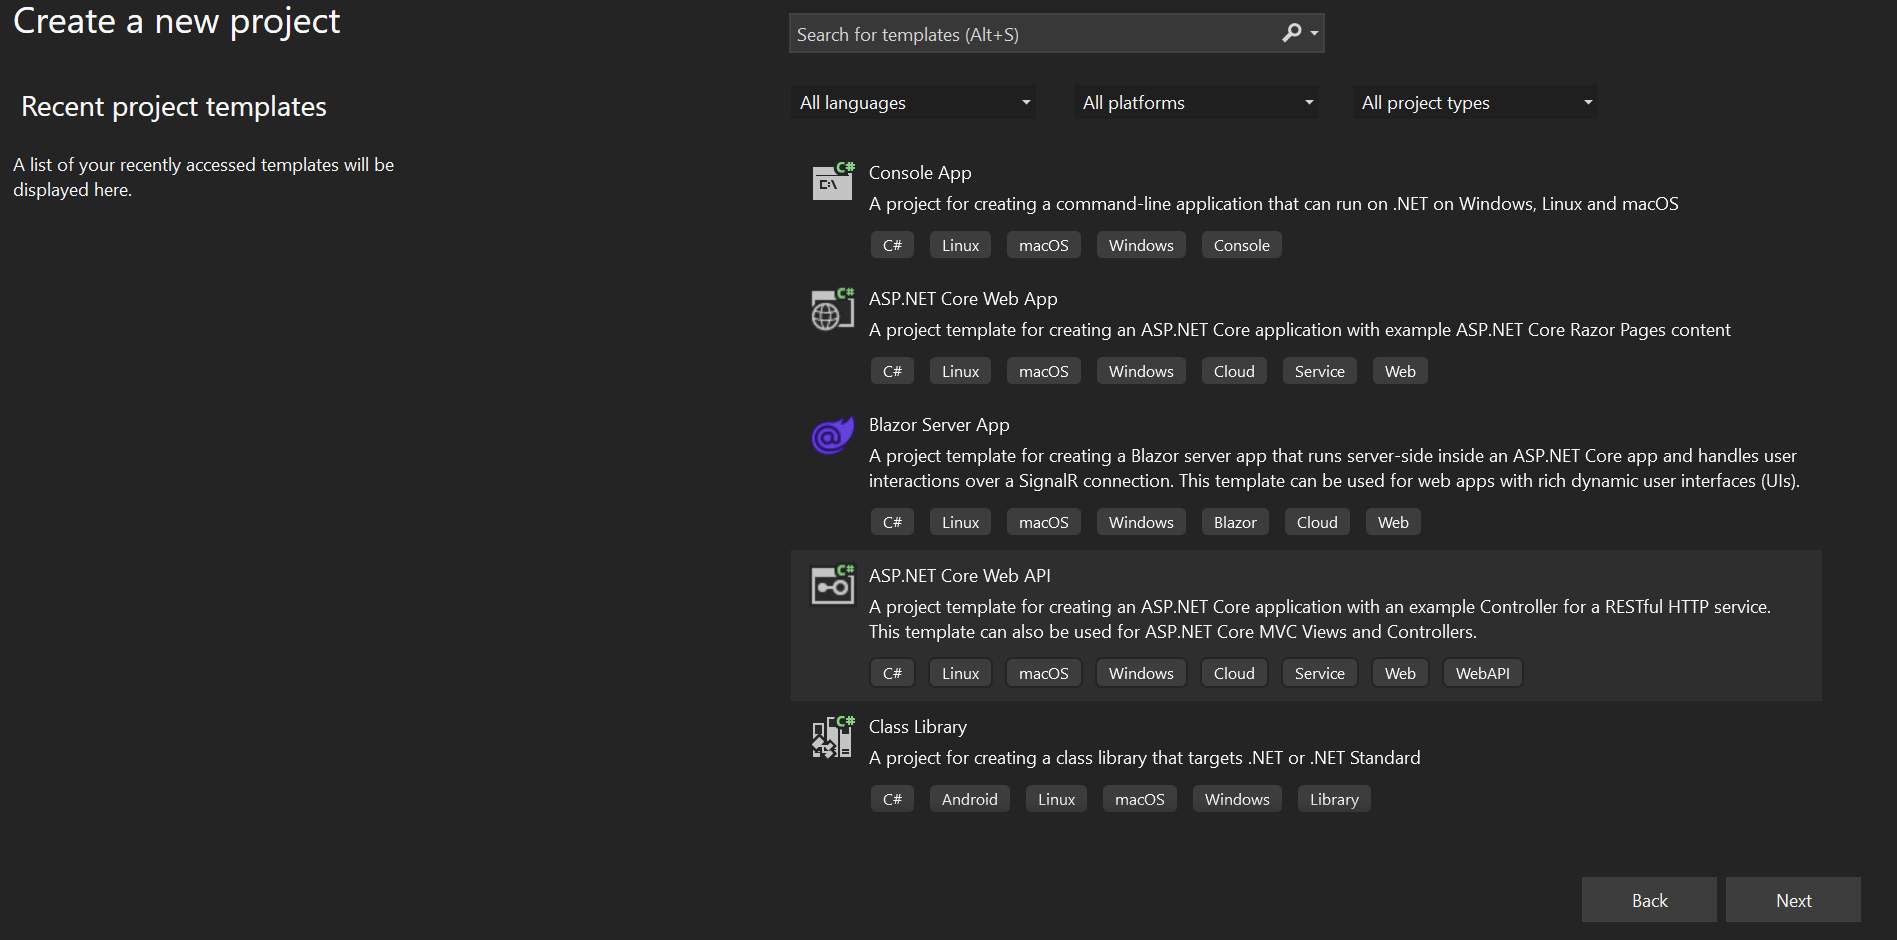
The Create a new project dialog box includes different .NET Core 7.0 application templates. Each will create predefined project files and folders depends on the application type. Here we will create a simple web application, so select ASP.NET Core Web Application template and click Next, as shown below.
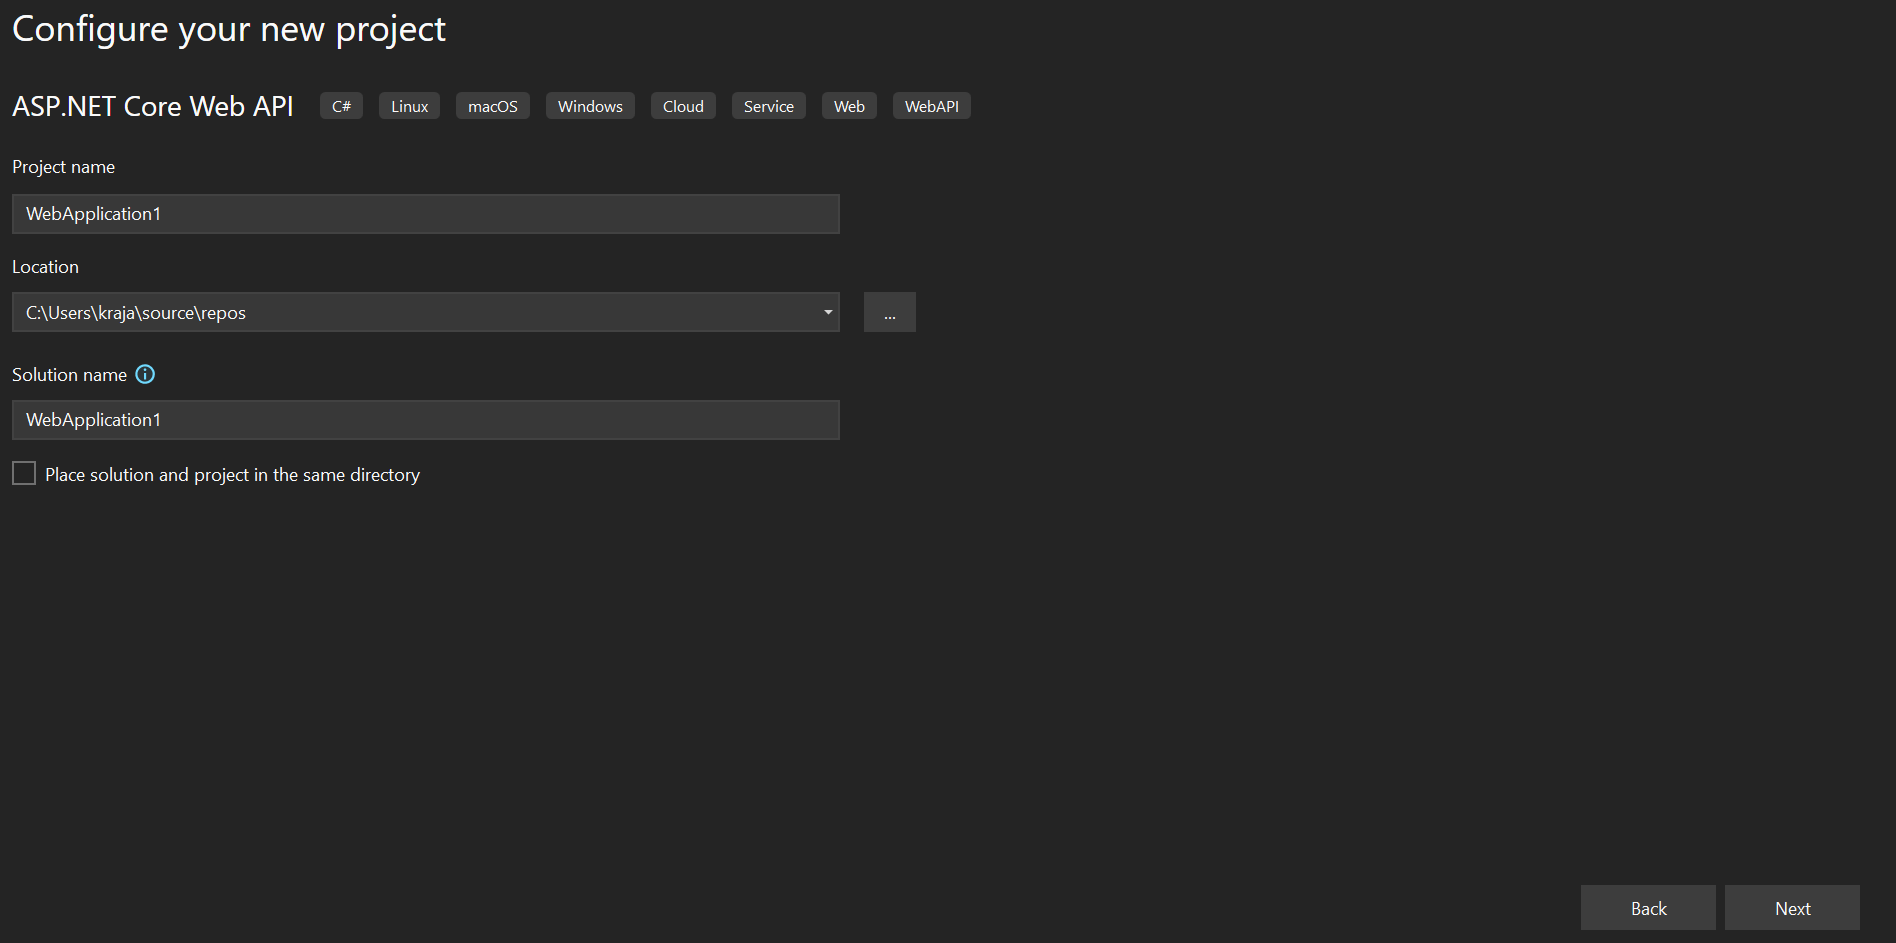
Next, give the appropriate name, location, and the solution name for the ASP.NET Core application. In this example, we will give the name "WebApplication1" and click on the Create button, as shown below.
Next, select appropriate ASP.NET Core Web application template such as Empty, API, Web Application, MVC, etc. Here, we want to create a web application, so select the Web Application template. We don't want HTTPS at this point, so uncheck Configure for HTTPS checkbox, as shown below. Also, make sure you have selected the appropriate .NET Core and ASP.NET Core versions. Click on the Create button to create a project.
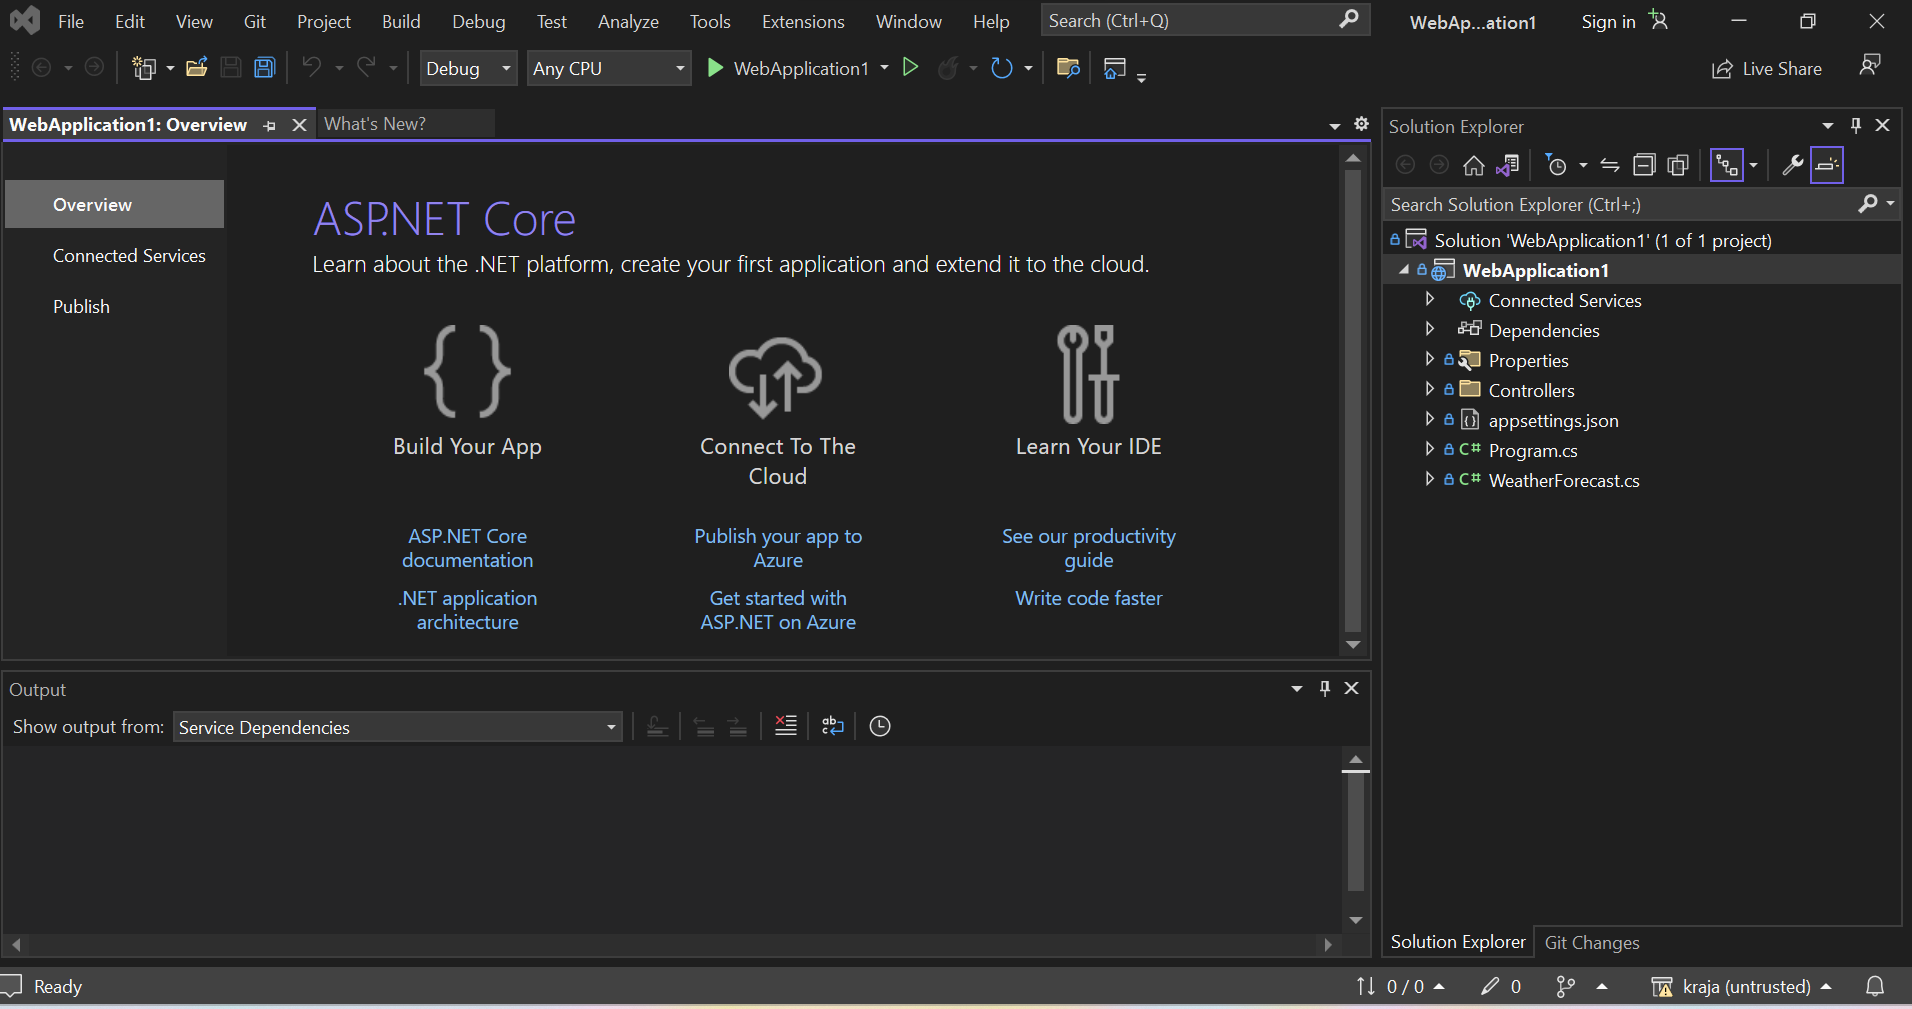
This will create a new ASP.NET Core web project in Visual Studio 2022, as shown below.
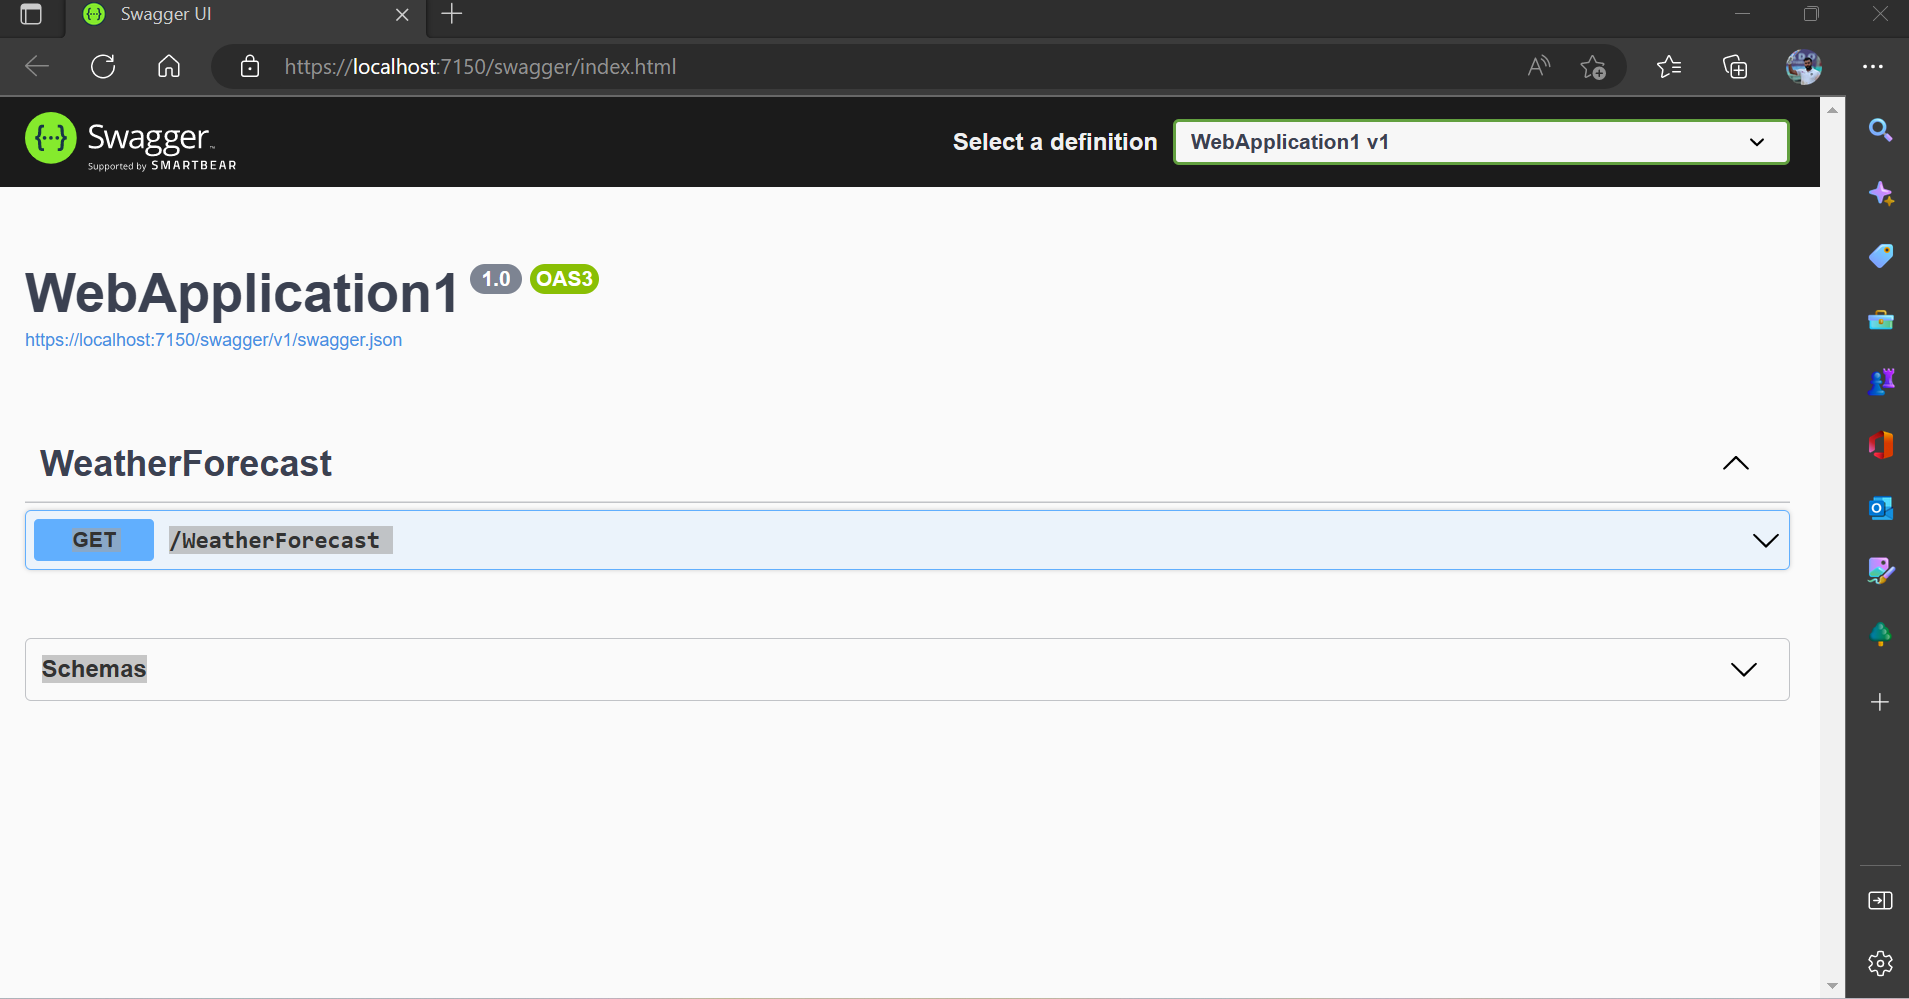
After running the project, it will redirect to browser.